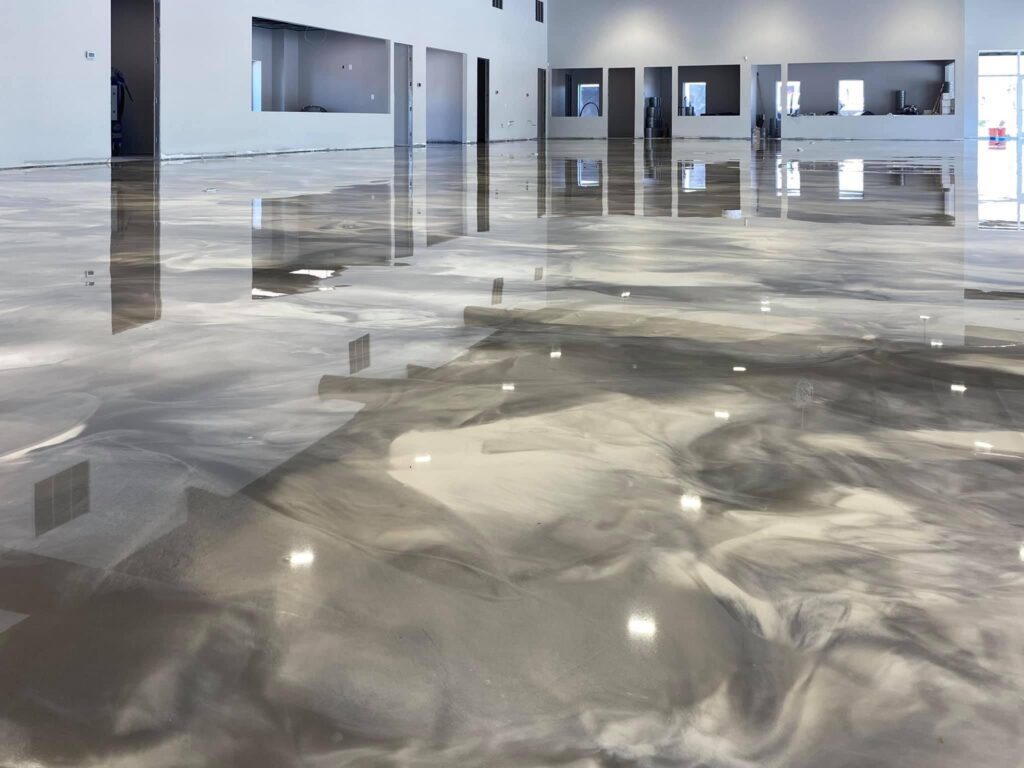
Metallic epoxy flooring is gaining popularity for its unique and striking appearance. This flooring solution has become increasingly popular for both residential and commercial spaces. And the best part is, this DIY home improvement project can give your space a high-end look without breaking the bank. If you’re interested in achieving a stunning metallic epoxy flooring, then this step-by-step guide is for you.
Step 1: Preparation
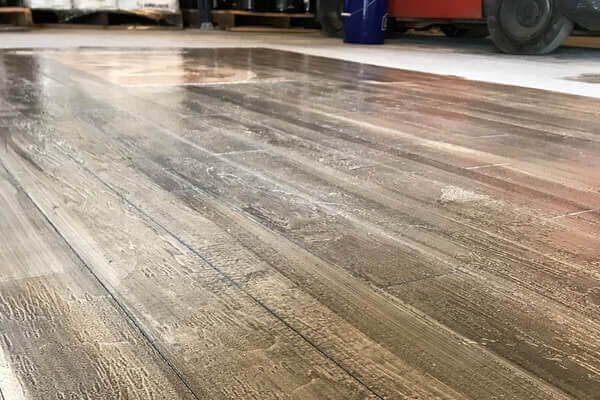
Before starting any project, preparation is key. The first step to achieving a stunning metallic epoxy flooring is proper preparation. Ensure that the surface of your floor is clean, dry, and free of any debris. Any cracks, chips, or joints must be filled before starting the project. It is important to keep in mind that the success of this project largely depends on the preparation work done beforehand.
Step 2: Primer
After preparing the surface of your floor, the second step is to apply primer. The primer provides a surface for the epoxy mixture to adhere to. A good quality primer designed for metallic epoxy floors should be used. It is important to allow the primer to dry completely before moving on to the next step.
Step 3: Mixing the Epoxy Resin
The next step is to mix the epoxy resin. The epoxy resin comes in two parts: the resin and the hardener. Mix equal parts of resin and hardener in a container, and stir well. It is important to ensure that the mixture is stirred well enough to avoid any lumps in the final finish. After mixing the epoxy resin, add the desired metallic pigment. A good rule of thumb is to use 1 pint of metallic pigment for every 3 gallons of epoxy mixture.
Step 4: Applying the Epoxy Resin
Now it’s time to apply the epoxy resin mixture to the floor. It’s best to work in small sections at a time, rather than trying to do the whole floor at once. Use a roller or squeegee to apply the epoxy resin mixture evenly. After applying the mixture, use a metallic epoxy comb to create swirls or patterns. The metallic epoxy comb allows you to create a variety of designs and textures.
Step 5: Finishing Touches
The final step is to let the metallic epoxy flooring dry completely. This typically takes around 24-48 hours, depending on the humidity level. Once the epoxy has dried, apply a final coat of clear sealant to protect the surface from scratches and damage. It is important to remember to wait at least 72 hours before walking on newly applied epoxy.
Conclusion:
Achieving a stunning metallic epoxy flooring is not only an affordable DIY project but also a unique and eye-catching finish to any space. By following these five simple steps, you can create a floor that looks and feels professional. From preparation to finishing touches, this guide has got you covered. With the right tools and materials, you can transform your space into a luxurious, high-end design without the expensive price tag. So why wait? Get started and create the metallic epoxy floor of your dreams today.