Nothing says luxury like a professional epoxy floor in your garage.
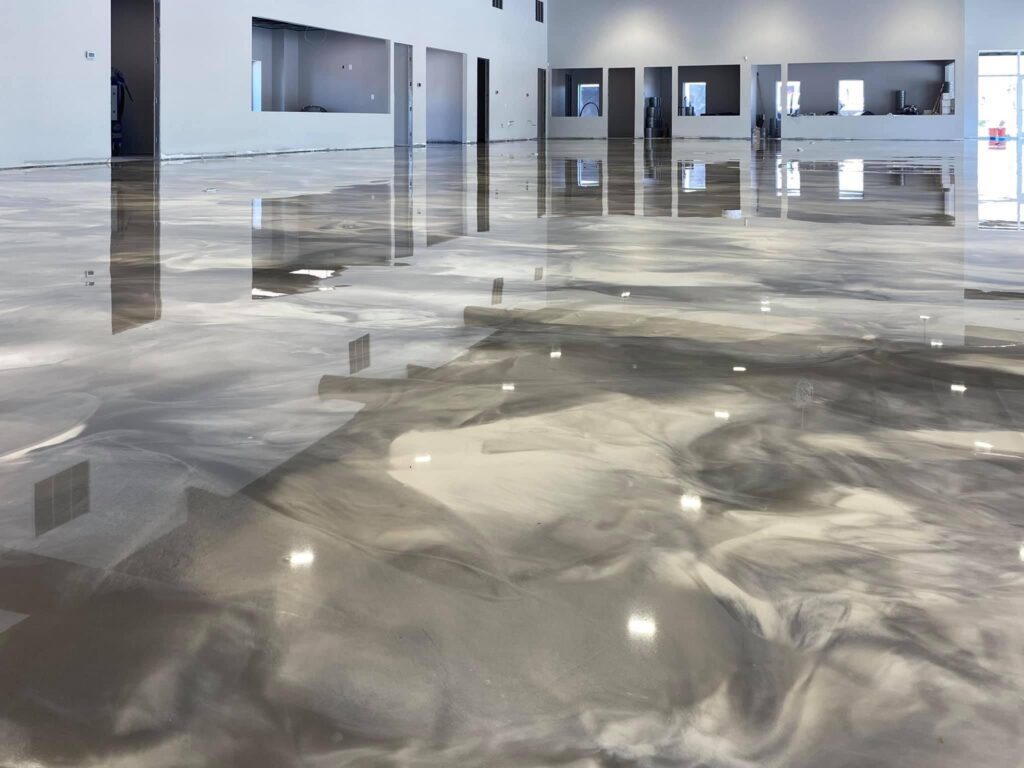
Epoxy is the perfect surface to create a luxurious, showroom-like look, and it’s easily attainable if you know what steps to take.
Let’s take a look at the steps to applying epoxy to your floors to make your garage the envy of the neighborhood!
What is Epoxy Flooring?
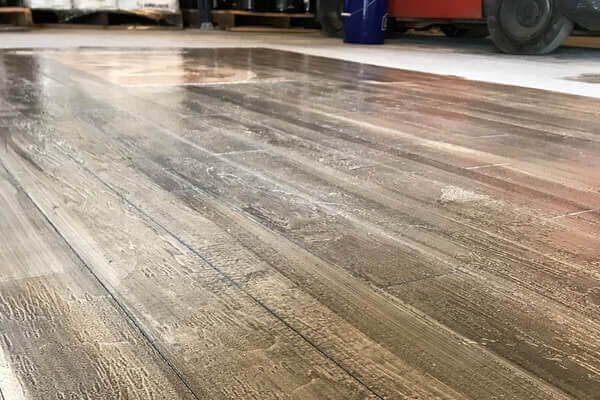
Epoxy flooring is a particular type of concrete overlay that is made to look like natural stone.
It can be customized with color in the resin to create a near-limitless amount of styles.
Epoxy has two layers: the color coat and the clear topcoat. Epoxy flooring comes in numerous colors, including reds, browns, blacks, and whites – making it easy to create your dream garage floor.
Best of all, epoxy does not wear out with use as conventional asphalt or concrete does.
In fact, it gets better with age as its shine increases over time!
How to Build a Luxury Garage Floor with Epoxy
Step 1: Prepare the Garage
The first step towards your new epoxy coat will be removing all items from the garage.
Not only do you want to move everything out of the room, but make sure there are at least 12 inches around each object. Epoxy could potentially drip onto them or seep through the cracks into surrounding areas once it’s applied.
Step 2: Smooth Out Imperfections
Epoxy is solid when cured and will not adhere to anything but a smooth surface, so the next step will be grinding down any bumps in your foundation.
You can use an angle grinder or rotary tool on concrete floors if you have one available.
Otherwise, hire a professional to come in and prepare your floors for the epoxy application. Some homeowners choose to use power stripping, which allows you to sand the floor down with a belt sander until every bump is gone.
Step 3: Mix Your Epoxy
Once the foundation is smooth, you can mix up your epoxy. Epoxy will need to be mixed according to the manufacturer’s directions and is best left to the experts to avoid issues.
Epoxy doesn’t react well with steel, and it could become discolored if not mixed correctly, so do this carefully.
For a truly luxurious look and feel, you will want to work with a professional epoxy contractor for your garage flooring.
Step 4: Apply Epoxy to the Garage Floors
You will want to apply the epoxy in thin layers. After you finish each coat, allow it to cure for 24 hours safely.
Epoxy needs this time to set so that it has a chance of staying put without being disturbed.
Motion can lead to “waffling” in the epoxy, leaving an uneven final product.
Step 5: Finish, Dry, and Enjoy!
Once the epoxy has been poured on your garage floor, let it sit there until dry.
Epoxy takes longer than concrete or asphalt does because of its increased thickness. If you attempt to walk on the epoxy before it’s completely dry, you run the risk of cracking the flooring and having a tricky mess to fix.
Take care, as epoxy is more slippery when wet than asphalt.
Add Customization to Make Your Epoxy Shine
Once your epoxy has cured, you can start redecorating your new luxury garage floor. Epoxy is very versatile here, and you have many options for adding detail.
A brick pattern or custom tile scheme would be perfect for adding that last bit of personality onto your Epoxy garage floor.
An epoxy coat may sound like an expensive luxury in itself, but the cost is worthwhile. Epoxy looks even better with age as its shine increases, and any scratches from use will only bring out more color once they are ground down and polished out of the epoxy’s surface again.
Contact a Professional Floor Epoxy Team for Your Luxury Garage Floor.
Before you know it, your epoxy garage floor will be complete! In only a short time, you will be admiring a new addition to your home that looks as though it was built into the foundation from the first day of construction.
There are many DIY epoxy kits on the market, but you will want to work with a professional if you are looking for a professional, luxury look.
An epoxy flooring expert can help you choose the perfect Epoxy mix to match the look you want for your garage.


